This page leads you through the metal and paintwork expertly conducted by Rennaissance Classic Cars, Hednesford, UK. Again, clicking the thumbnail will open the full size image
I have to say that the restoration of the chassis and body took me a bit farther than I was expecting when acquiring the car. I learned in the meantime that there are two categories of Healeys: The dry ones and the ones that have seen the water. Dry ones have lived their real life in the South-Western states and the others have not benefited from this dry climate and suffer of what is pudically called typical Healey rust. #HBJ7L24165 was in the latter condition.
Since I did not want to have a quick work done just to put it back on the road but a thorough repair of all the damage, I set out to find a good and experienced body shop to do it. This Quite a difficult task actually and after having spent quite a lot of time inspecting local outfits and hauling shop owners to inspect the car at my place with no success, I decided to try the companies that were listed in the specialists section of Classic and Sportscars magazines article on the six cylinders Healeys. To this purpose, I wrote a description of the state of the car and faxed it to most of the listed specialists. Among the quotations that I received, I selected Phil Kennedys Renaissance Classic Cars, Hednesford, UK, based on this demonstrated experience with Healeys and on his impeccable and exhaustive list of all the operations that he was proposing to execute on the car. Luckily, he was also able to come inspect the car on site, since he was participating in a rally organized by the French Healey Club not too far from the Swiss border (upon which, he updated his quotation in detail). Quite simply, I have never seen anyone else in this business as thorough and honest in the description of the work to be accomplished.
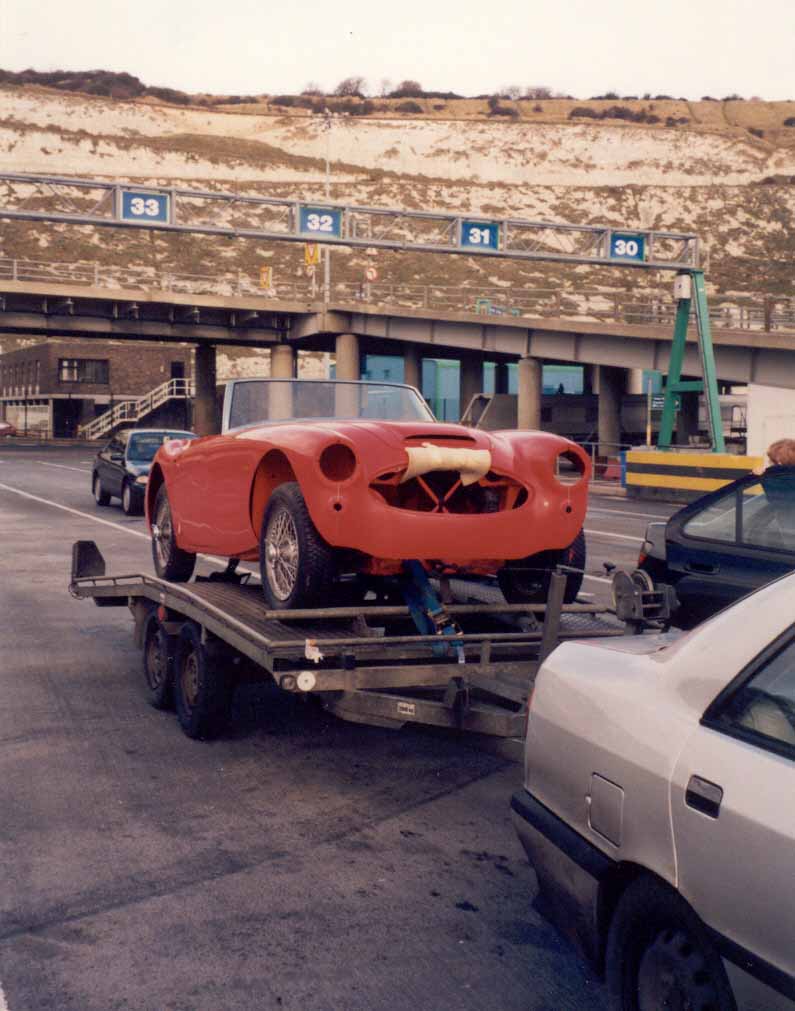
To make this long story a bit shorter, a few weeks later, Mr. Kennedy was at my door, ready to load the car on his trailer. During the work, he kept me informed of the progress by sending pictures every couple of weeks until completion and I flew in to inspect the metal work before prep. and paint.
Raw chassis
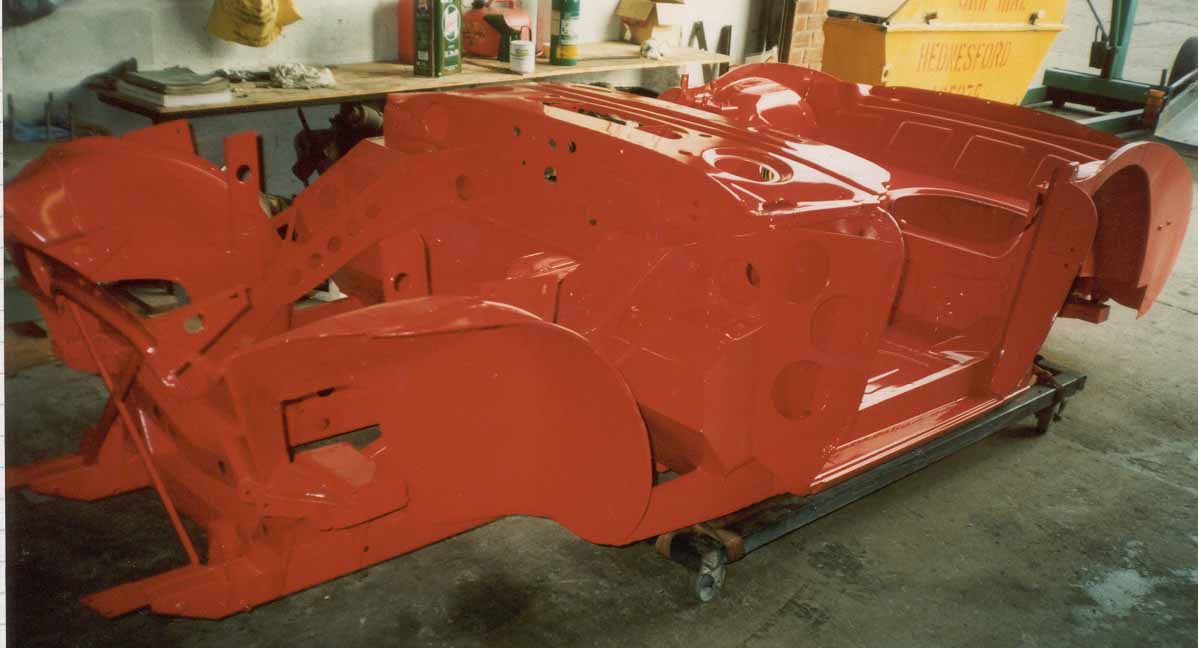
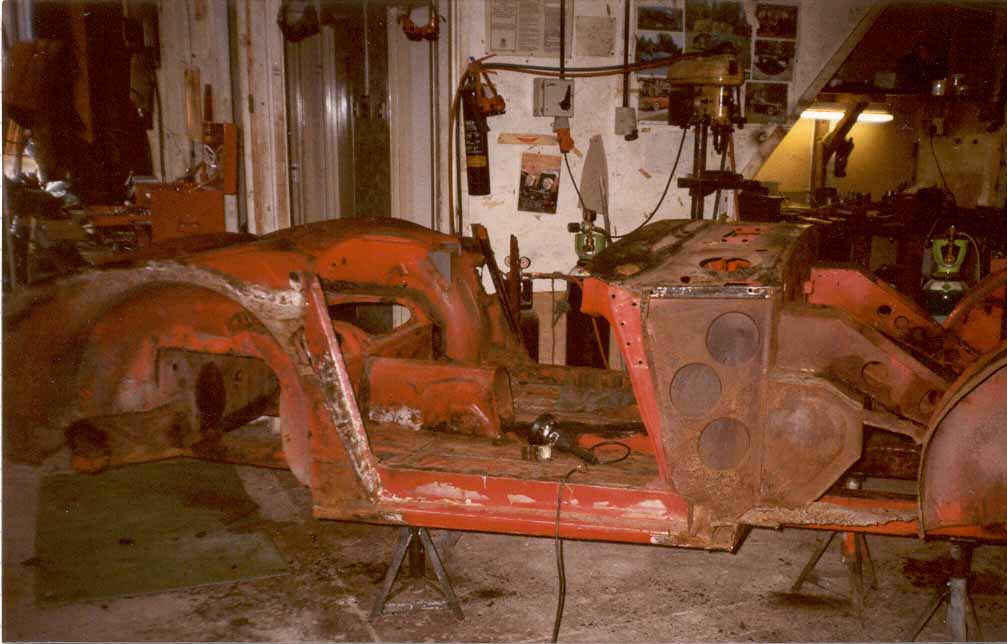
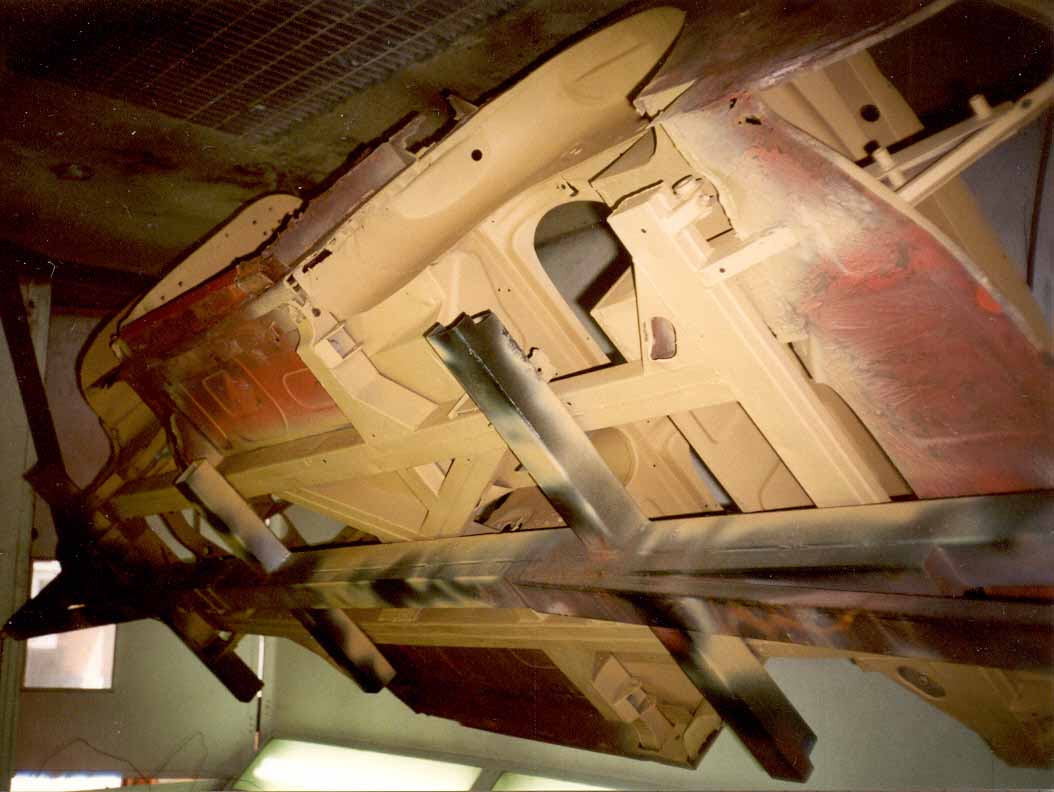
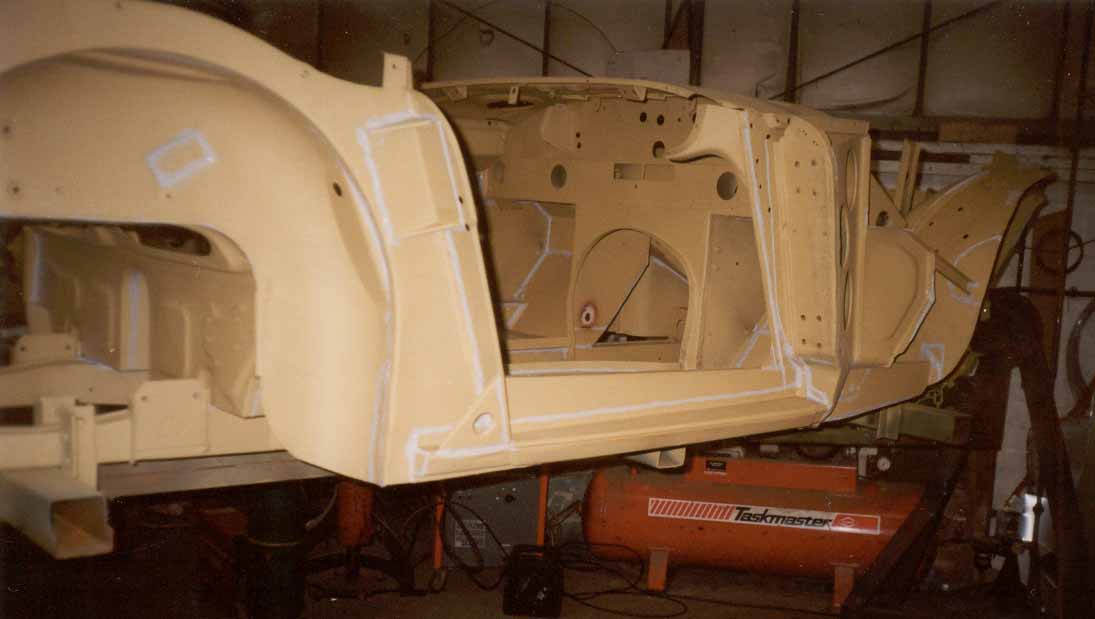
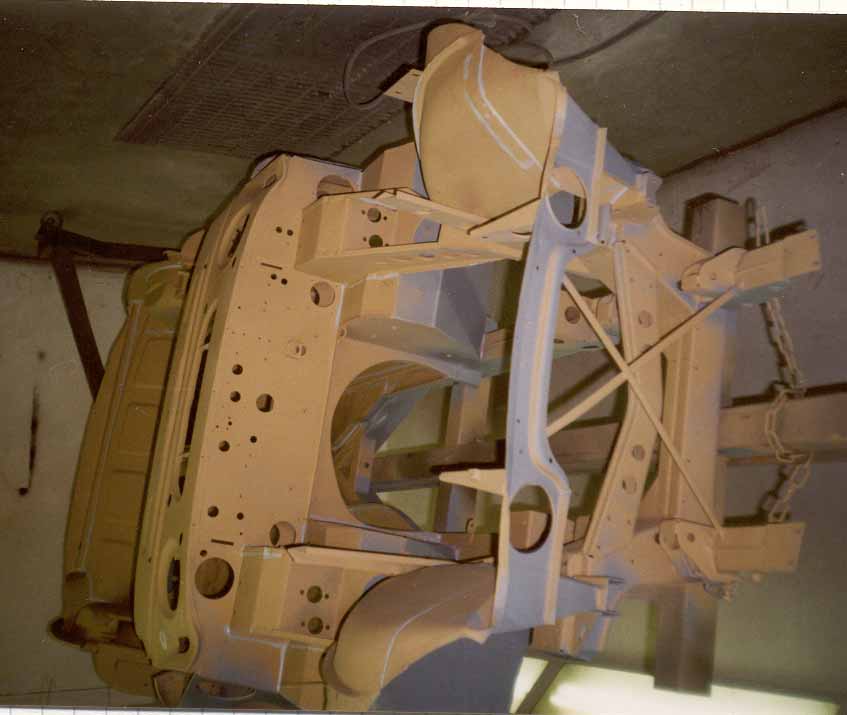
The car left my place stripped from everything by the front and rear suspension. This and all the external body parts were removed before the chassis (frame) and inner body were sandblasted and painted with a first layer of primer immediately thereafter. If you are not entirely familiar with the design of Big Healeys, you might not realize that a body-off restorartion is not possible on this car since the inner body is welded to the frame.
|
Naked. Note the remain of the sills |
Close to the engine, British cars never suffer from rust. |
Shot blasted and primed it is now on the rotisserie |

Chassis restoration
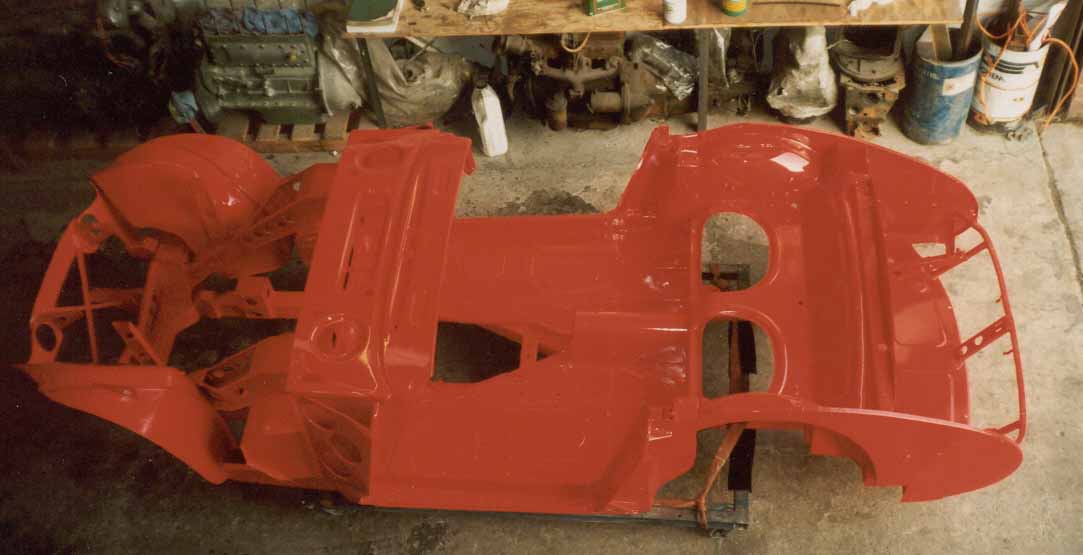
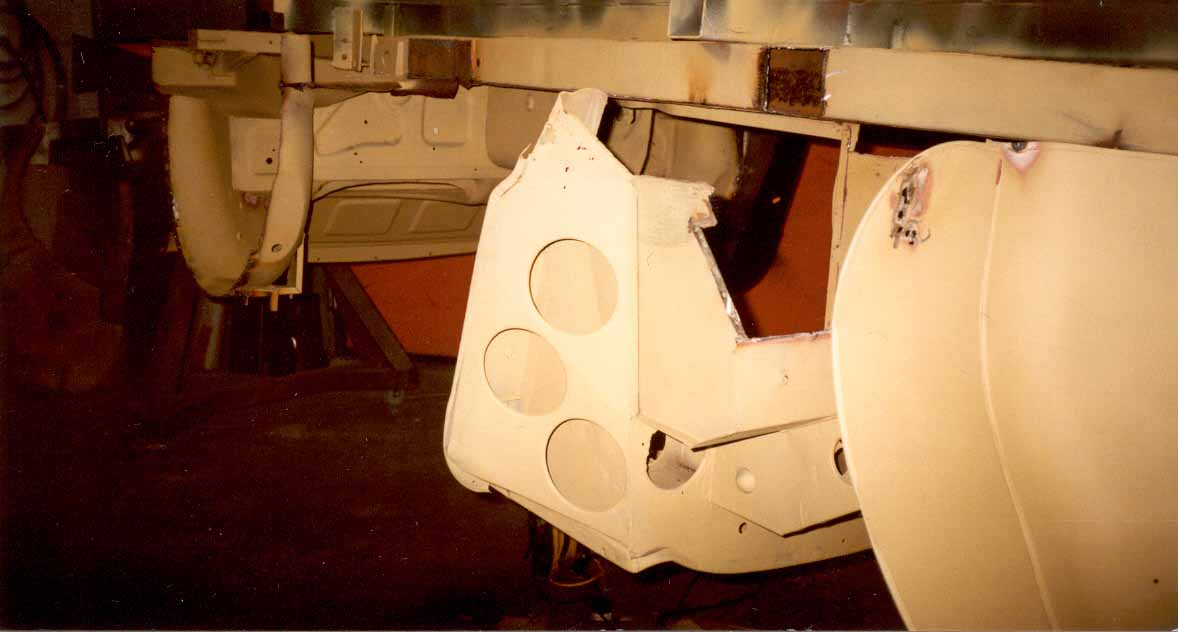
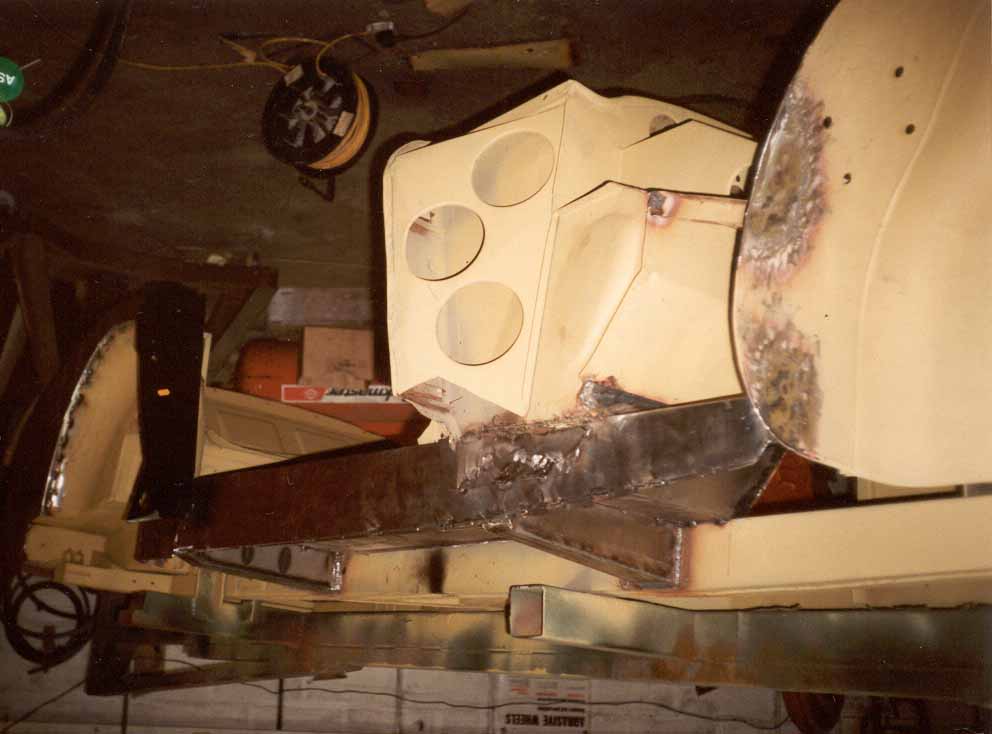
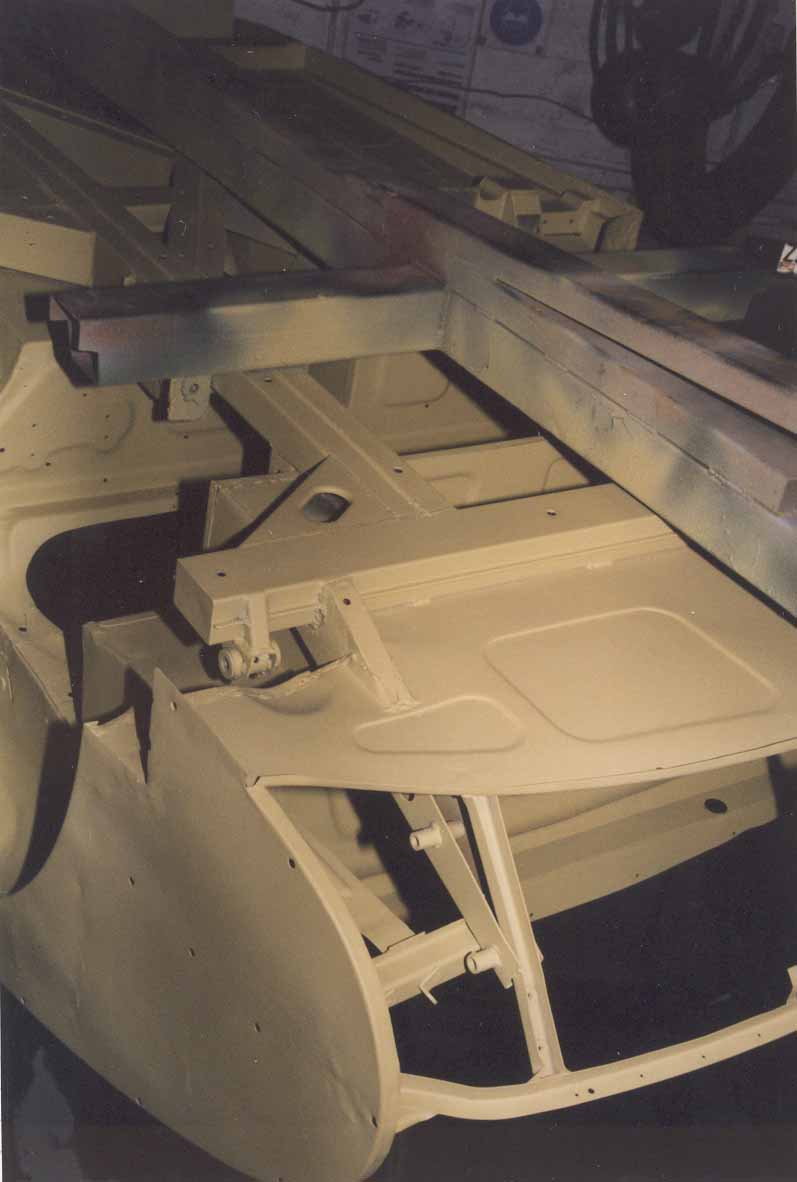
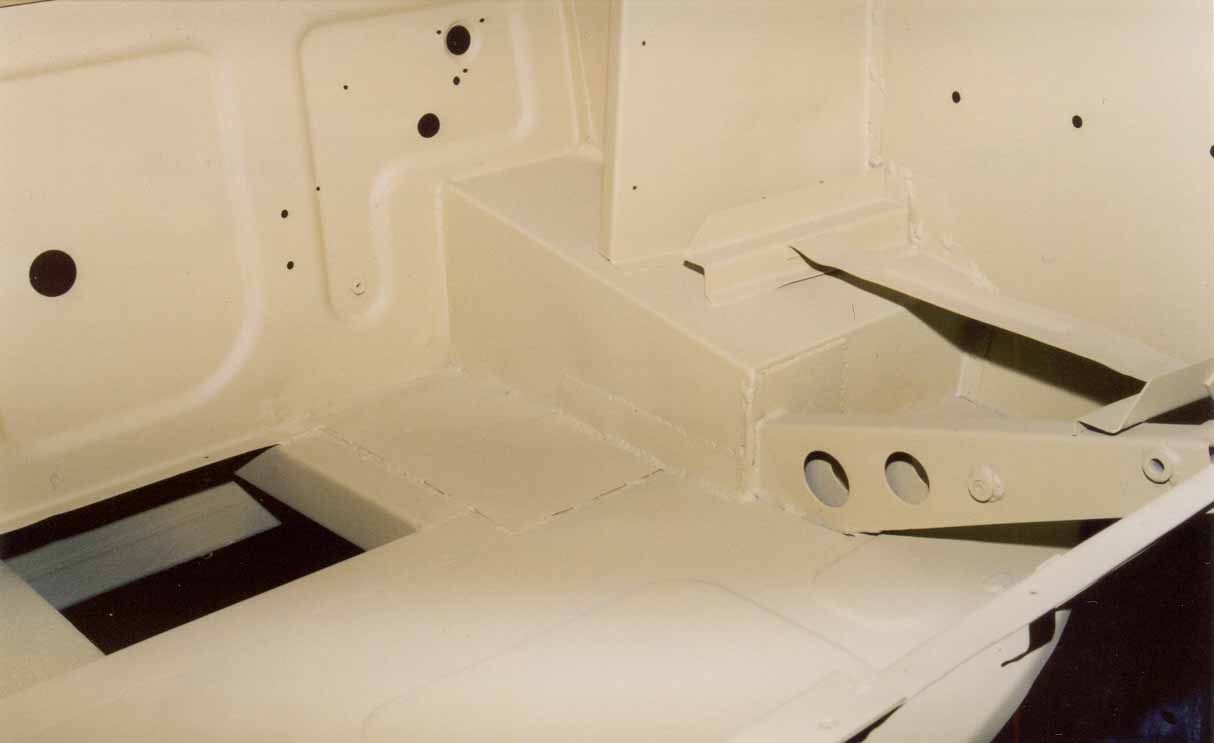
The chassis restoration did require some extensive cutting and replacing. All four chassis outriggers were replaced and of course the sills and rocker panels on both sides. The main floors and the boot (trunk) floors were replaced as well. Rust had weakened the rear transversal chassis beam, which was also replaced. Rear inner wings and B-posts (doglegs) were replaced also.
|
outriggers are cut |
B-post is located |
new outriggers and sills |
|
sills and rockers are now installed |
rear beam and boot floor replaced |
does that boot look nice or what? |

Body restoration
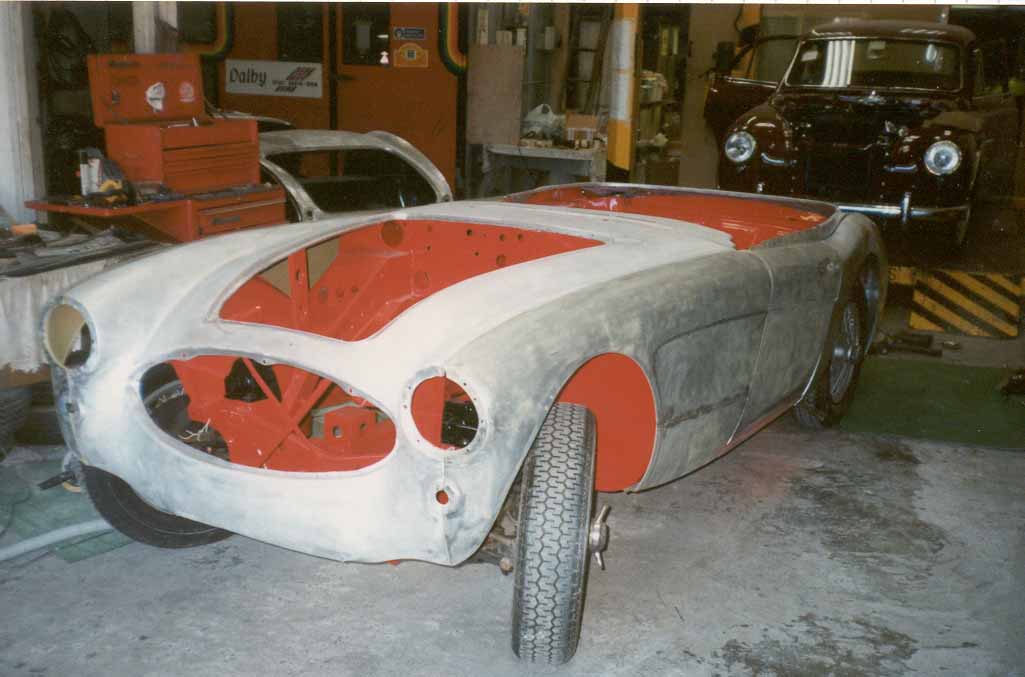
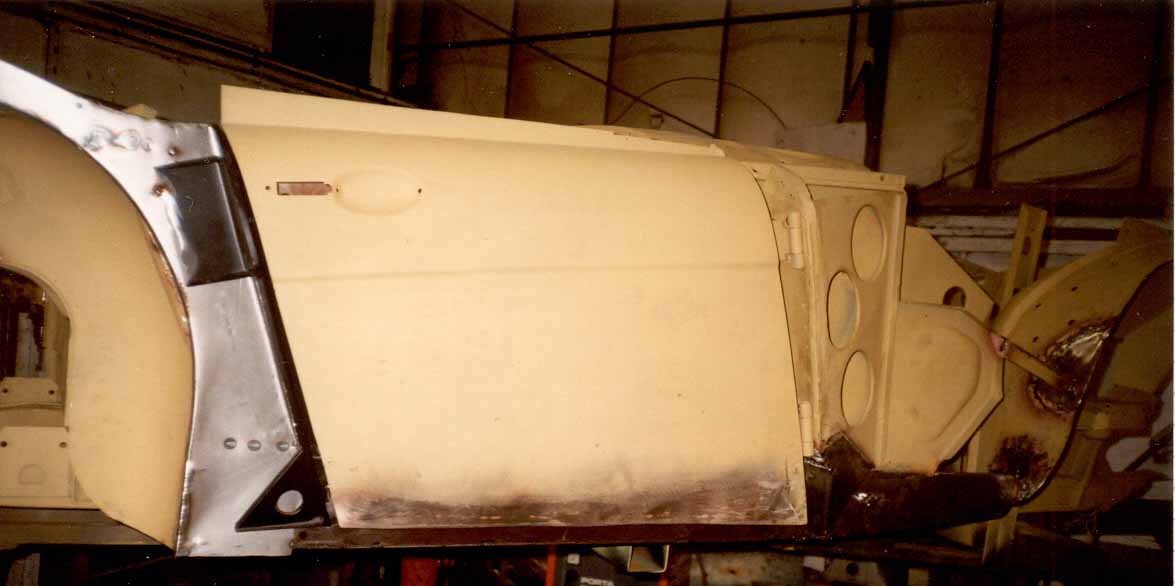
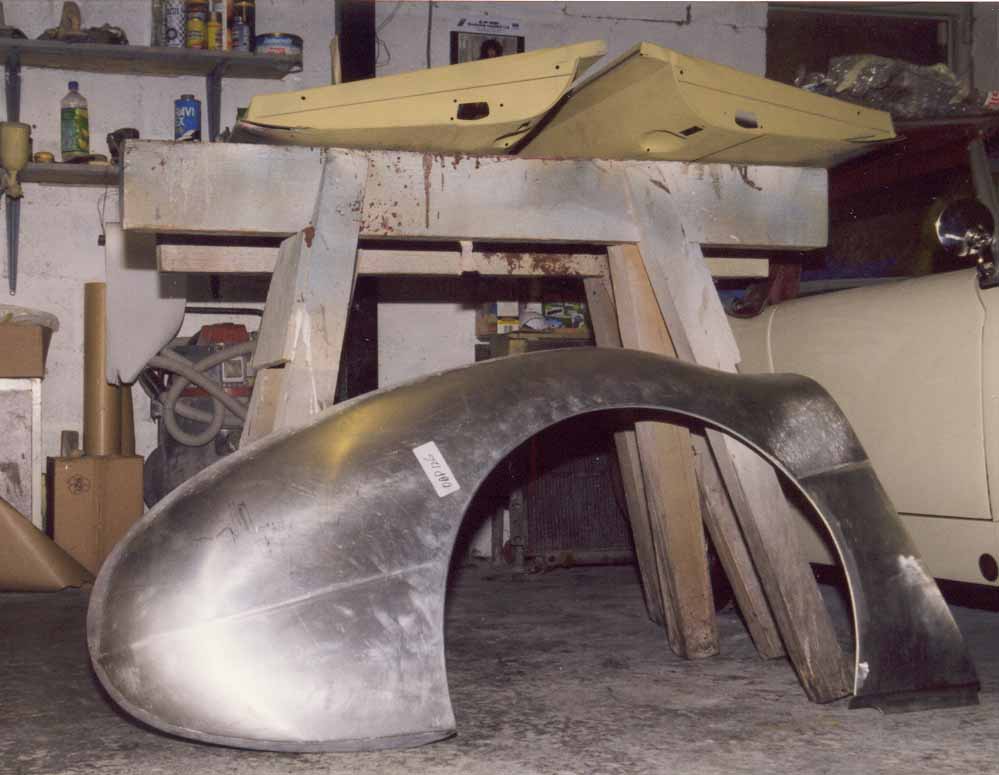
The external body has had some work done too. The rear shroud had suffered electro-chemical corrosion on the bolting edge where it is bolted to the inner wings. This required welding in new edges. I choose to install new rear wings since the original ones would have required a lot of work to resurrect, in particular because they had been welded to the B-posts after so much of the latter had rusted away that the screw holes no longer existed! The bottom lip of the door skins was replaced on both sides also upon recommendation of Mr. Kennedy. They did not look that bad to me but after all, once you are there
|
|
inside of rear shroud with work notes |
new Al rear fenders |
|
door skin being work on (see text) |
front fenders ready to roll |
|


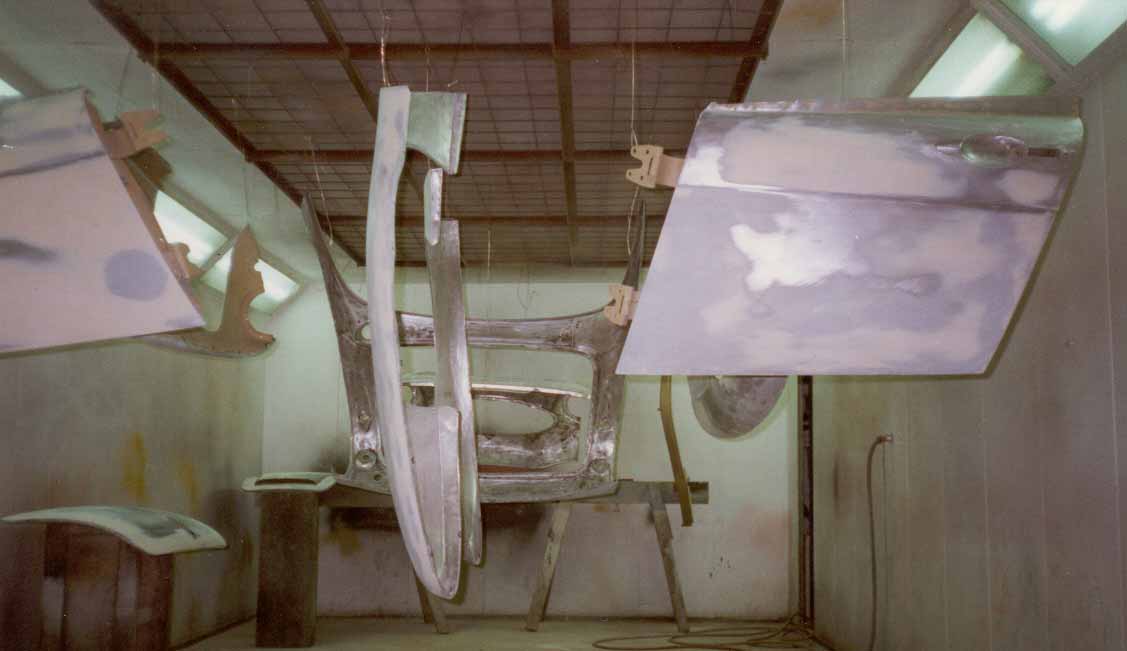
Paint preparation
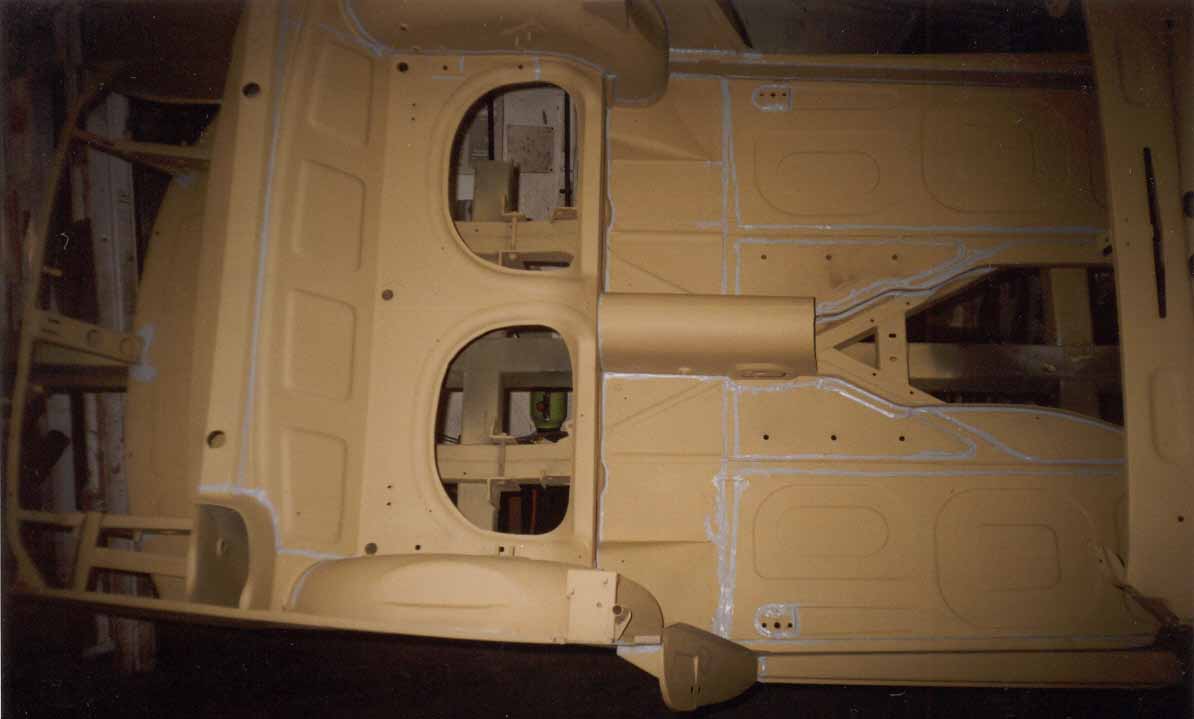
The prep was very thorough. After each time a repair was performed on the metal primer was applied. Eventually, when al the metalwork was done, each metal-to-metal interface was caulked to prevent water from seeping in again and start rusting. After that the bottom of the car was sprayed with a coat of chip protection paint
|
caulk |
caulk |
and caulk |
|
and then some! |
anti-chip protection |
anti-chip protection |


Paint
|
|
|
|
|
|
|
|
|
|
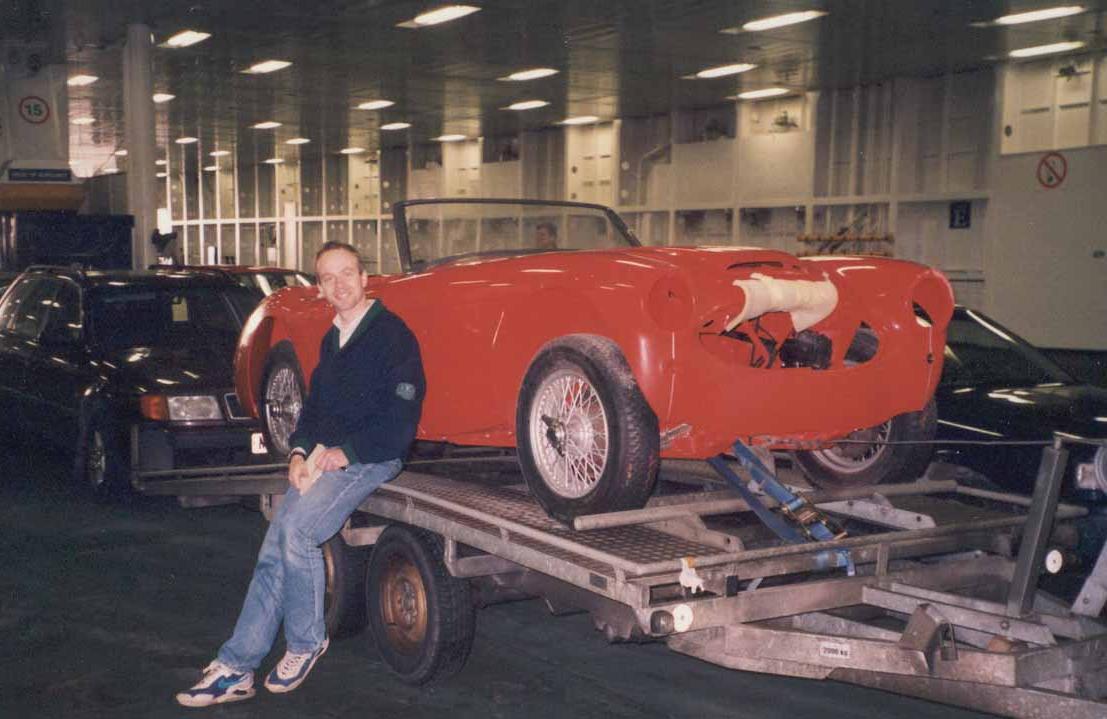
on the ferry between UK and France |
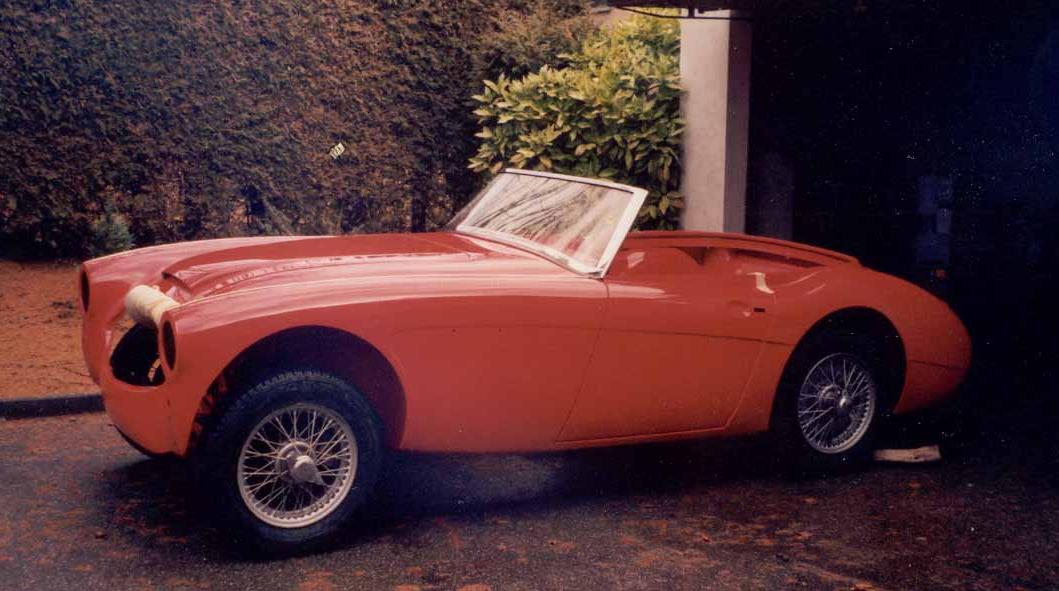
home at last |